
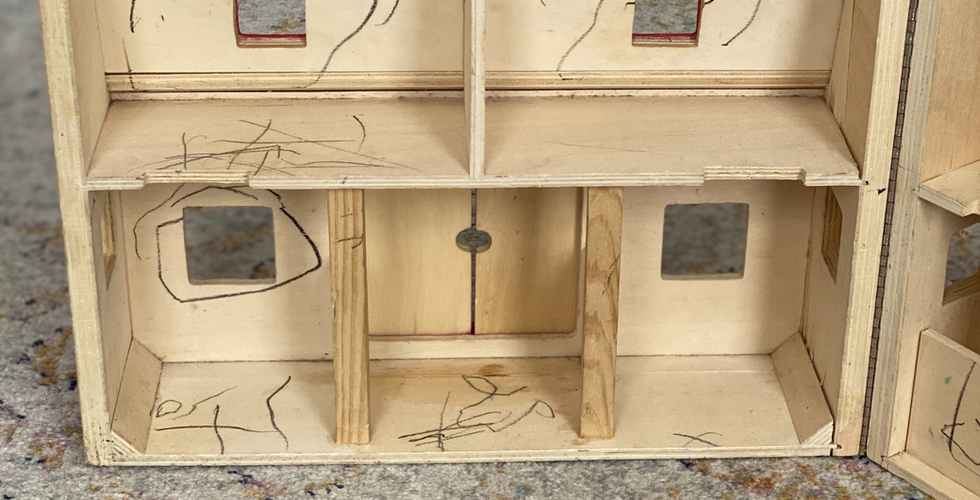
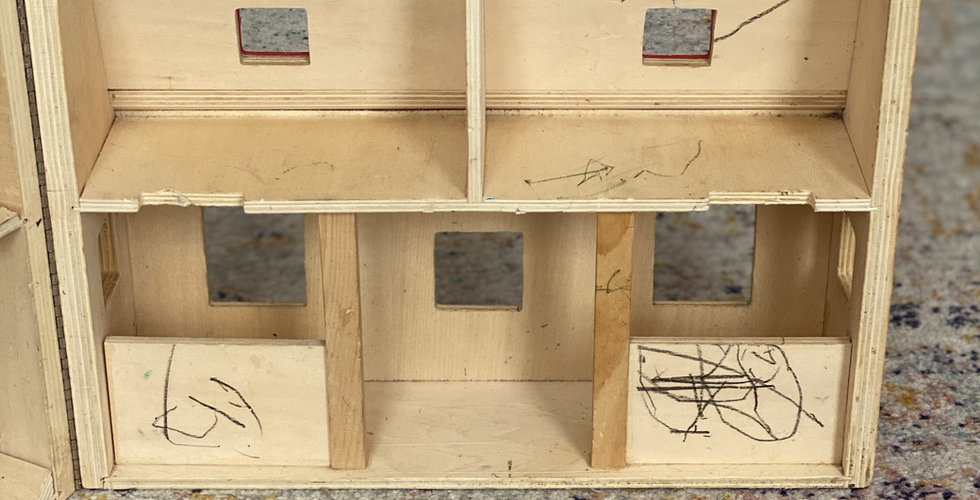
I found this barn at Goodwill about a month ago. It was broken into two pieces and they were even priced as separate items. I happened to find both of them and get them for a whopping combined price of $1! It was in rough shape. Here's what it looked like when I bought it:


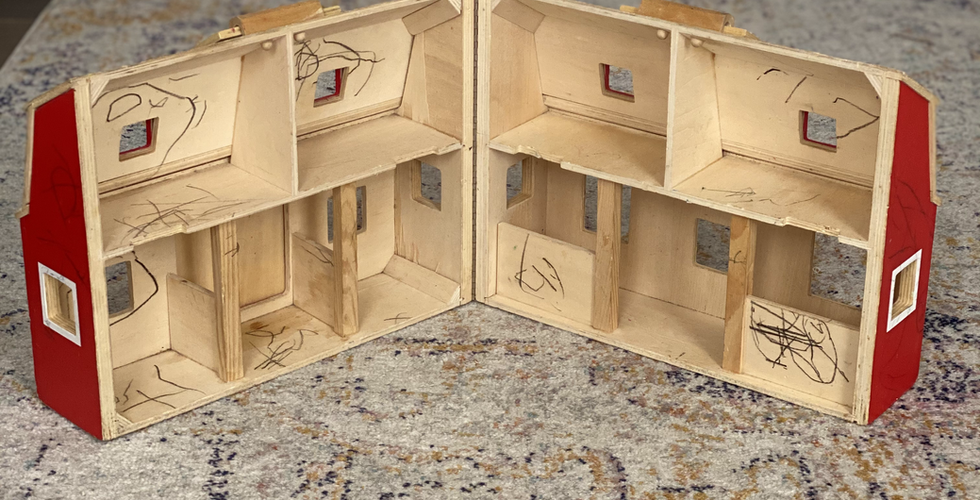


I'm going to explain how I renovated it and I'll link all of the materials I used at the end!
Step 1: Clean! I used a magic eraser and paper towel to scrub off as much dirt and crayon as I could. Then I dried it off and used wood glue to glue the two halves together, since mine was broken.

Step 2: Paint! I used Rustoleum 2X Ultra Cover Paint+Primer spray paint in Flat White. Before painting, I taped off the handles with painter's tape, since I wanted to leave them their natural wood color. I didn't focus much on painting the roof because I knew that I was going to cover it up.


Step 3: "Stain" trim. I used coffee stirrers for all of the trim around the windows, doors, and roof. I used a paint and water mixture to "stain" them all. These are the colors I used: Ceramcoat in Raw Sienna and Martha Stewart in Sycamore Bark. Mix a little of each color together with some water. Test out your color until you like it, I made mine pretty watery.

Step 4: Cut the trim. I used this tool my husband had from building models in college (he is in architecture). The tool allows you to cut the wood at an exact angle.

Step 5: Glue the trim in place. I used this wood glue. I did the windows and doors* first, then did the trim around the roof. When working around the roof, glue all of the side-facing edges first and make them flush with the ends of the roof. Then measure, cut, and glue the forward-facing pieces. This way the "butt" ends of the trim don't show from the front. I give more details in my barn highlight on Instagram.
*Note: After gluing the trim around the door, I wrapped sand paper around a pencil and used it to sand the edges around the circular door handle to round them out.
Step 6: Stain shingles. I used these shingles from Hobby Lobby because it was convenient. They are meant for the octagonal side, but I cut that off and used the square side. I had to trim the shingles to fit because this barn is a little smaller scale than what they are intended for.
Step 7: Glue shingles in place. The package of shingles has instructions, but I started on the bottom ledge and measured and cut them to fit and adhered them with the wood glue.


Step 8: Before starting the next row, I glued coffee stirrers to the bottom ledge. This is so that the next row of shingles will be even with all of the following rows as they overlap each other. You can see this in the photo above.

Step 9:
On the next row, cut the first shingle in half vertically. This is so the rows of shingles will be staggered and not directly on top of each other. It looks better and makes the shingles more secure. Start the next row of shingles with a full shingle and continue, starting with a half shingle on the next row, and a full on the following row, etc., until you get to the top.
I am including a picture taken from a screenshot of my Instagram stories, so it's not the best quality, but it shows you have to stagger the shingles.


Step 10:
I added another piece of coffee stirrer to the bottom edge of the top section of the roof, so the first layer of shingles would lay like the rest. I have highlighted the areas where I added them in the picture above. Then, when I started shingling the top section of the roof, I cut the shingles on top of the dormers (the part of the roof that sticks out over the windows) to be a little shorter. This is because I wanted the third layer of shingles to be even all the way across (as shows by the arrow).
Step 11:
Once I got to the top of the roof, I went through the package of shingles looking for the thinnest pieces I could find and used them for under the handle. I also did not overlap those so the handle could still move.
And that's it!! I'm going to list all of the materials and link as many as I can. (affiliate links included).
Materials Used:
Paints for “staining”: Ceramcoat and Martha Stewart
I will be making another blog post about where I bought, and how I made, the accessories for the inside, so stay tuned!
Happy Crafting!
♡Arlynnda


