top of page

the heinrich house

Lifestyle, Crafts & Motherhood

  • Writer: Arlynnda
    Arlynnda
  • Sep 26, 2022
  • 1 min read

I wanted to do something special for Piper to get her excited about becoming a big sister (she's honestly pretty indifferent to the whole baby thing lol), so I decided to make her a Big Sister Basket to give her when the baby arrives. I've linked everything below, in case you'd like to make your own! I can't wait to give it to her, I hope she loves it.

  • Stella Baby Doll
    Stella Baby Doll
  • Big Sister Tee
    Big Sister Tee
  • Big Sister Pennant
    Big Sister Pennant
  • Doll Diaper Bag
    Doll Diaper Bag
  • You Were the First Book
    You Were the First Book
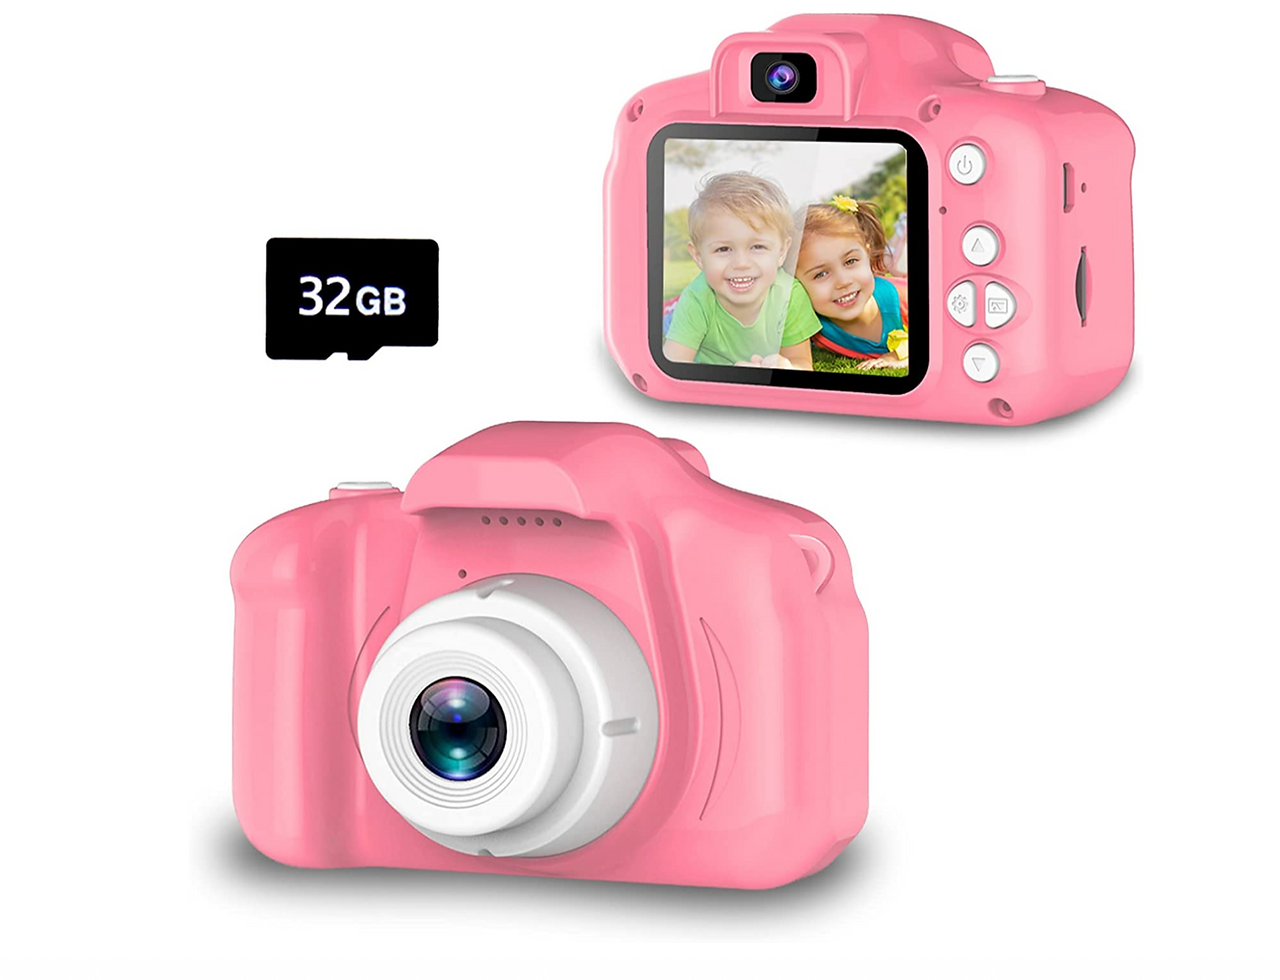
  • Kids' Camera
    Kids' Camera
  • Carrying Baby Book
    Carrying Baby Book

♡Arlynnda


  • Writer: Arlynnda
    Arlynnda
  • Sep 17, 2022
  • 1 min read

Here are the things I'm taking with me to the hospital and plan on using in my postpartum recovery.


  • Diaper Bag
    Diaper Bag
  • Tote Bag
    Tote Bag
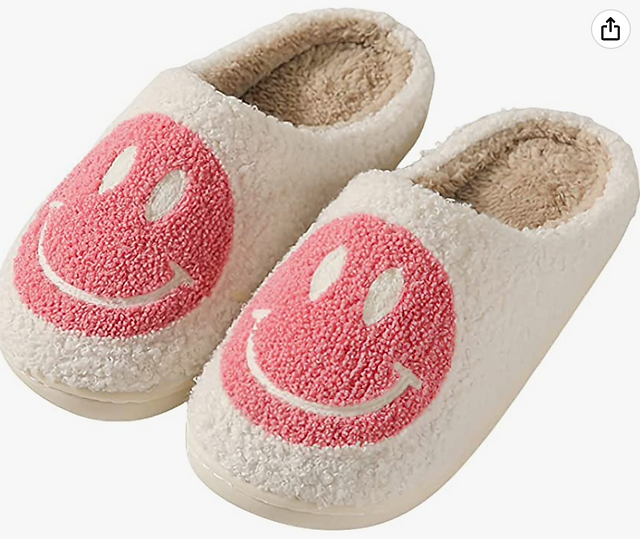
  • Slippers
    Slippers
  • No-slip Socks
    No-slip Socks
  • Sound Machine
    Sound Machine
  • Hair Brush
    Hair Brush
  • Hair Ties
    Hair Ties
  • Phone Charger
    Phone Charger
  • Water Cup
    Water Cup
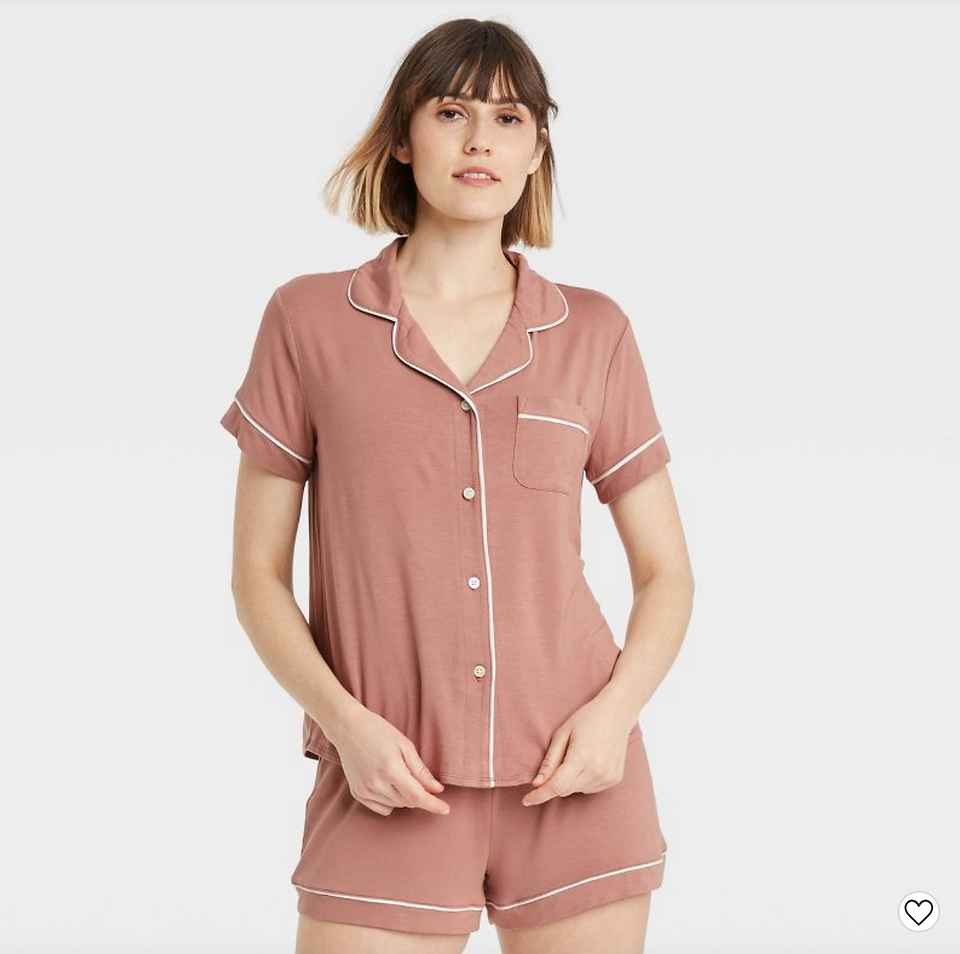
  • Pink Pajamas
    Pink Pajamas
  • Checkered Pajamas
    Checkered Pajamas
  • Labor and Delivery Gown
    Labor and Delivery Gown
  • Boppy Nursing Pillow
    Boppy Nursing Pillow
  • Waffle Boppy Cover
    Waffle Boppy Cover
  • Portable Fan
    Portable Fan
  • Chapstick
    Chapstick
  • Heating Pad
    Heating Pad
  • Nursing/Pumping Bras
    Nursing/Pumping Bras
  • Nursing Tanks
    Nursing Tanks
  • Maternity Underwear
    Maternity Underwear
  • Newborn Pacifiers
    Newborn Pacifiers
  • Velcro Swaddles
    Velcro Swaddles
  • Baby Mittens
    Baby Mittens
  • Name Sign
    Name Sign
  • Swaddle
    Swaddle
  • Nightgowns
    Nightgowns
  • Travel Toothbrushes
    Travel Toothbrushes
  • Dermoplast
    Dermoplast
  • Tucks Pads
    Tucks Pads
  • Disposable Underwear
    Disposable Underwear
  • Peri Bottle
    Peri Bottle
  • Ice Pads
    Ice Pads
  • Perineal Foam
    Perineal Foam
  • Postpartum Recovery Kit
    Postpartum Recovery Kit
  • Breastfeeding Kit
    Breastfeeding Kit

♡Arlynnda


  • Writer: Arlynnda
    Arlynnda
  • Sep 9, 2022
  • 2 min read

I'll take any excuse to make felt food for Piper's kitchen lol So I decided to make some back-to-school-inspired treats to get her excited to start school!

Materials:

  • Felt (I get mine from Hobby Lobby)

  • Embroidery floss in colors matching the felt

  • Embroidery needle

  • Scissors

  • Beads or sequins

  • Quilt batting (can be found in craft stores in sewing section)

Steps:

  1. Cut out shapes from felt. I print out templates on cardstock, pin them to the felt, and cut around them. But you can also draw your own templates or just free-hand it! You should cut out the part you want to be the "icing" or decorated part of your felt cookies, then cut two larger pieces out of the cream colored felt (this acts as the "cookie"). These pieces should be slightly larger, so you can see a cream border around each one.

  2. Sew your "decoration" pieces of felt onto one piece of the cream colored felt. For example, for the pencil I sewed on the pink, silver, yellow, tan, and black pieces onto the cream "background" piece.

  3. Embroider/sew on any additional designs/beads/sequins. This is when I added the stitches to make the lines on the paper and then added the beads and sequins.

  4. Place the top of your cookie onto the other cream background piece and use a blanket stitch to sew around the edge, leaving an opening big enough to insert your quilt batting to stuff your cookies.

  5. Insert a VERY THIN layer of quilt batting. Remember, these are cookies, so you want them to still be relatively flat.

  6. Sew around the remaining edge of your cookie to close.


I hope you love these back to school felt treats!

♡Arlynnda


  • Instagram
  • LikeToKnow.it
  • Black Pinterest Icon

© 2023 by Lemon Squeezy. Proudly created with Wix.com

bottom of page